It was my very first survival challenge. The weather was cool, and I expected a storm that night.
The clouds were looking ominous as late afternoon left and evening crept in.
I had spent all day and all of my energy building what I thought was an ideal shelter to keep out the rain.
| Quick Navigation Why Do I Need Fire? What is a Ferro Rod? Why a Ferro Rod? How to Use It Tips and Tricks |
I quickly gathered up a little firewood along with some dry grasses for tinder. To push myself and test my skills, I did not bring a lighter or any matches on this challenge.
I did have a bow drill kit with me, and I started running the bow to create a coal. Unfortunately, the humidity was very high and the wood was not creating an ember. Darkness was closing in.
I knew that we were expecting a nasty storm with heavy rain and 30-40 MPH winds. Worse yet, the temperatures were supposed to drop down into the fifties.
This may not seem that bad, but hypothermia can set in even in temperatures as high as 60F if you are wet. I really did not feel like dying on my very first survival challenge. I desperately made a spot decision to switch to my ferro rod.
I assumed the issue was the moisture in the wood and started shooting sparks into the dry grasses. Still nothing. It was now officially dark, and I could barely see the items in front of me I needed to make a fire.
Then I remembered my first aid kit. I brought an alcohol-based medication with me to help prevent the effects of poison ivy. I am highly allergic and knew there was plenty of the nasty plant in the area.
Why had I not thought of this sooner? Alcohol is an accelerant and can help get a fire started. I ripped off the sleeve of my cotton t-shirt and doused it with the medication.
This was my last shot. I strongly grasped the ferro rod in my left hand and my knife in the other.
I made a strong downward swipe and shot sparks into the cloth. Flames! I quickly added the grasses and smaller kindling to the flames and started gradually building up my fire. It looked like I would not freeze that night. It turned out that my shelter was not ideal, and I did get very wet that night.
Thankfully the fire helped me through, and I was able to stay several days longer and complete my challenge. In this article, I will cover what a ferro rod is and why it can be so important for survival.
Why Do I Need Fire?
The four pillars of survival:
- food
- water
- fire
- shelter
These are the four elements needed to survive in the wild for any significant period of time. The rule of threes states that you can sometimes only survive three hours in the cold without warmth from fire or shelter. A good shelter can take hours or even days to complete.
However, with the right tools you can build a fire in just minutes. Therefore, having a quality Firestarter with you in the wild can quickly mean the difference between life and death.
The real risk in not having a fire is hypothermia. This is a condition in which the core body temperature drops to 95F or below. I have had hypothermia several times before, and it is not fun.
In addition to being painfully cold and shivering uncontrollably, your motor functions and mental capacity start to fade. You are disoriented, confused, and clumsy.
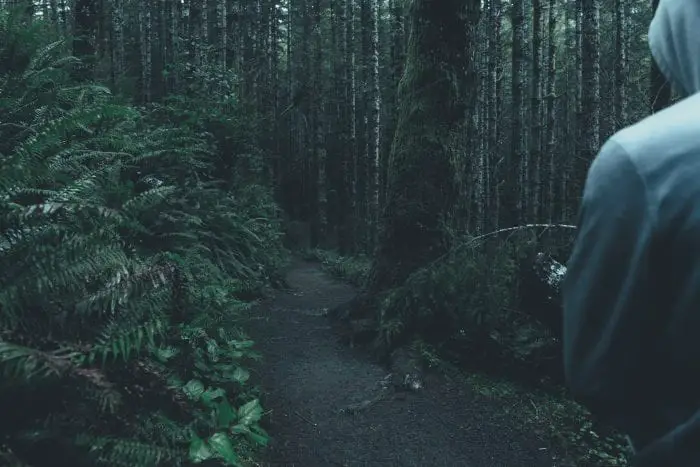
I recall one instance in which I was walking back and forth from my shelter to a pond to get water. Despite seeing my tracks in the snow, I still got lost on my way back. I could not recall if I was heading in the right direction or needed to turn around.
Eventually hypothermia causes your body to completely shut down and your heart will stop. Unfortunately, it sets in 20 times faster when you are wet. This means that there are times you absolutely must have a fire to stay alive.
In addition to keeping you warm, fire provides all kinds of other survival benefits. You can cook food, purify water, light your camp, harden the tip of a spear, disinfect tools, and scare away predators. The smoke can repel insects, signal for help, preserve meats, and kill bacteria.
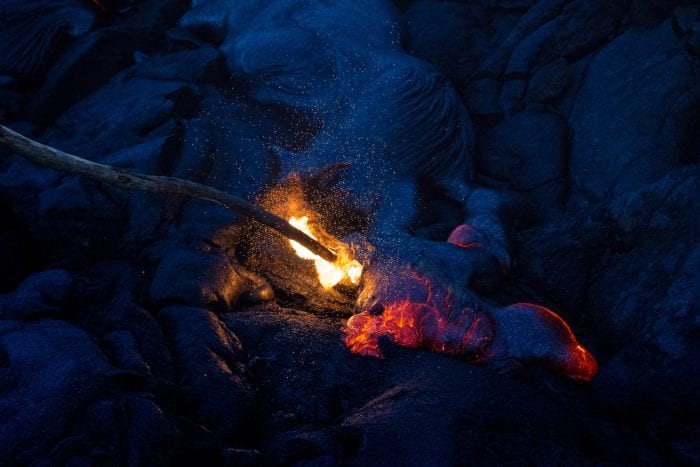
The soot can be used as a survival toothpaste, can draw toxins out of the skin, can be used as sunblock, and can make for an excellent camouflage. If you are trying to survive, fire should be a top priority.
What is a Ferro Rod?
You are shopping for a new ferro rod, or maybe you just purchased a new one. If you’ve never used one before then this guide is here to help you get started.
Ferro rods are fire starters. They create a spark, or a shower of sparks, when friction occurs along their surface.
When selecting your new ferro rod make sure to consider its use and where it will be stored (bug out bag, Altoids tin survival kit, edc). If you have the space then you really need a couple of the large thick ferro rods (3/8-1/2 inch thick, and 5-6 inches long).
The large ferro rods will last you a long time, won’t break as easily and will be much harder to lose! They are also much easier to hold and give you a sure grip so you can create maximum friction.
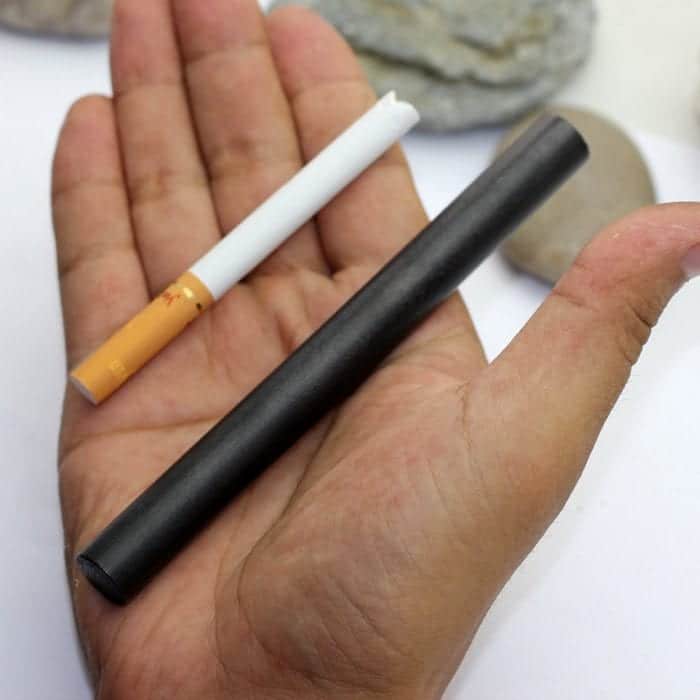
When you get that new ferro rod, it mayb be covered with a special black coating, that is designed to prevent sparks during shipping. This coating is probably a good idea, because your UPS, FedEx or USPS delivery person may have an aversion to the packages in their possession suddenly bursting into flames.
This coating needs to be removed before it’s first use. This can be easily accomplished by simply scraping the black material off of the rod. You can see when you have reached the fire steel, because it will have a shiny metallic surface.
Why a Ferro Rod?
There are lots of different fire-starting methods out there that work well. So why would you want a ferro rod over other options? There are several reasons. Let’s look at the downsides of other fire starters. Lighters are great for a consistent flame, but often they do not work when wet or in heavy winds.
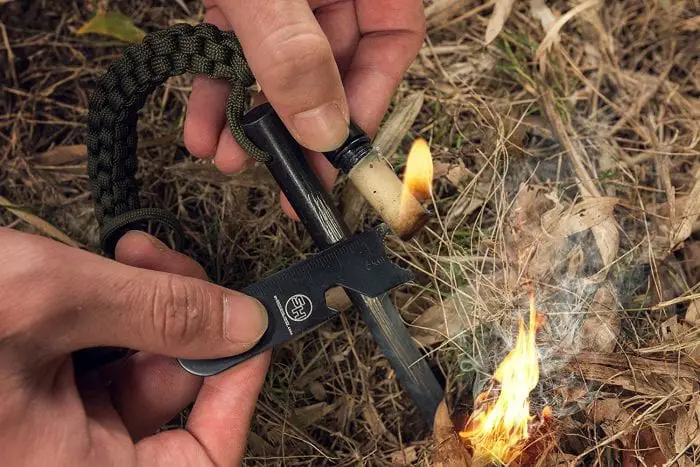
They also eventually run out of fuel and there is no good way to tell when that will happen. Matches will blow out in a gust of wind and some will not work when wet. They are also a finite resource.
Magnifying lenses are a solid way to start fire, but only when you have a sunny day with no trees overhead. Friction fire can be used just by gathering some wood and cordage, but it is very unpredictable.
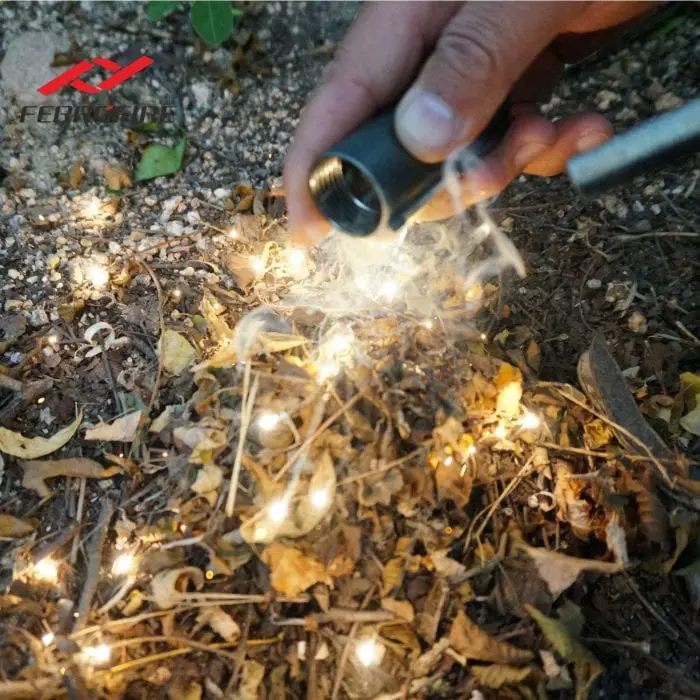
If the wood is too hard, too soft, or too moist, you are out of luck. It also burns a great number of calories to obtain a coal. I have seen people try to start a fire by friction for days with no luck.
Now on to the ferro rod. A ferro rod is primarily made of magnesium which is then struck by a piece of high carbon steel. Some come with a striker, like Zeroway, but you can also use the spine of your knife if the blade is high carbon.
It shoots sparks towards your tinder bundle at roughly 3000F. As long as the tinder is dry and is a fine material, it should at least get you an ember that can be coaxed into a flame.
Your ferro rod will work exactly the same when wet and when there is a strong wind. Most ferro rods will last for about 10,000 strikes, so chances are you will not wear it out in your lifetime.
I take a ferro rod with me any time I head into the wilderness, and often I take two or three just in case I lose one. It is one of the most important tools in my arsenal, and definitely in the top five tools for wilderness survival.
How to Use a Ferro Rod
Using a ferro rod is relatively simple. You first want to be sure that you gather all of the materials that you need for your fire. This means a quality tinder bundle, a bundle of kindling that you can wrap both arms around, and fuel logs of various sizes piling at least knee high if you want to make it through the night.
The key to using a ferro rod or firesteel is to make sure you keep your knife’s rear edge or scraper at a sharp angle to the point of contact with the rod. It seems to work best if you hold your knife (or scraper) stationary, near the tinder bundle, and pull the rod. Many people try to move the scraper over the fire steel, but it doesn’t work as effectively, because the sparks will go everywhere, except where you need them.
1. Pick a good structure for your fire and assemble your kindling and fuel wood before you start working with the tinder bundle. Kneel down next to your fire structure with your tinder bundle on the ground. Place the end of your ferro rod down onto the center of your tinder bundle so you can press down with your left hand and hold it in place. It should be still and stable before you get started.
2. Hold your striker in your right hand and grip it firmly. Place it near the handle of the ferro rod at roughly a 45 degree angle. You are going to want to apply pressure towards the ferro rod as you slide it down towards the end. This should shoot sparks into the tinder bundle. Repeat this process over and over until you see an ember glowing in the bundle.
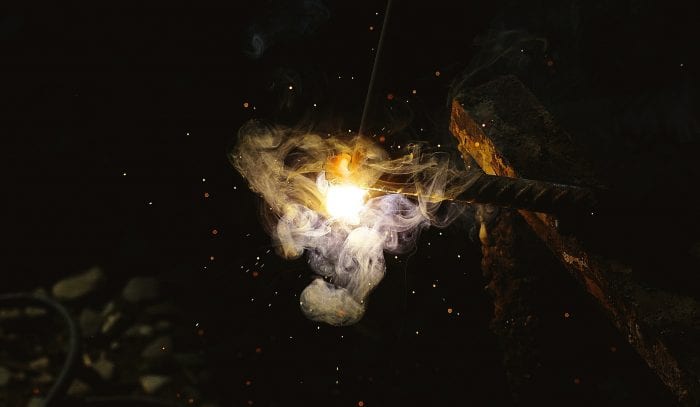
3. Next you will need to coax the ember into a flame. Pick up your tinder bundle and hold it slightly above your mouth in front of your face. Gently blow on the ember to make it flare up and get brighter. It should start to create a large amount of smoke. Continue blowing on the ember with increasing strength as it gets larger. Eventually it will burst into flames. Do not panic and drop your tinder bundle.
4. Quickly move the bundle to your fire structure and place it inside so the flames are coming in direct contact with your kindling. Once they start burning the kindling, you can get down near the ground and continue to blow on the fire to provide oxygen. This will make the flames grow larger. Until your fuel logs are consistently burning, do not assume you are in the clear. Keep babying your fire until you are sure that it is not going to go out.
Tips and Tricks
There are several things I have learned over the years that make using a ferro rod easier.
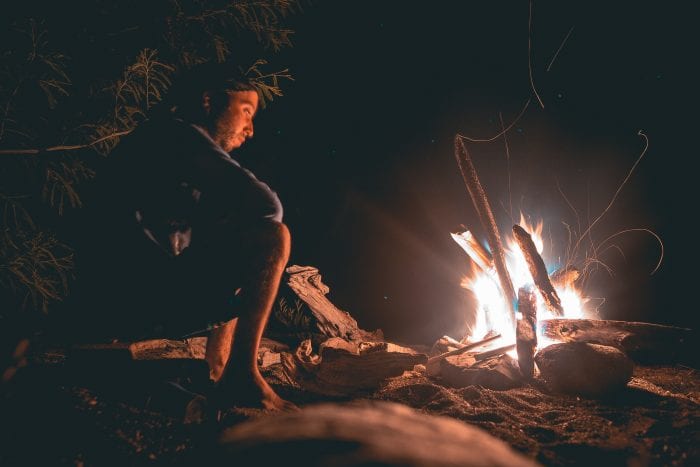
Here is some of my best advice:
- Do not use the sharpened edge of your blade on the ferro rod. This will not only dull the blade of your knife, but it will also dig into the ferro rod shortening its life.
- Be sure to use some sort of brightly colored material to tag the end of your ferro rod or buy one from Swiss Safe. For example, tie a piece of hunter orange paracord to the end or wrap the end in orange tape. Most ferro rods are small and can easily be lost on the forest floor. I probably lost four or five of them before I figured out this trick.
- Never try to float the ferro rod. This is when you try holding it above your tinder bundle in the air and striking it with your other hand. Not only does this give you less pressure between your striker and your ferro rod, but with a blade it is much more likely to cause an injury.
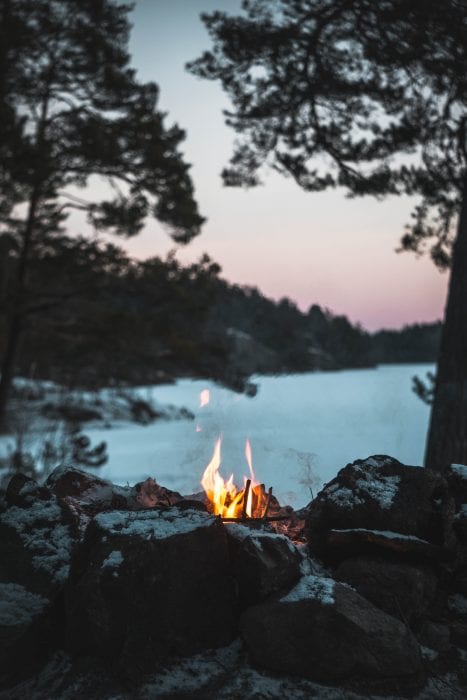
- Avoid using a ferro rod on a tinder bundle that is already placed inside your fire structure. Often new survivalists are scared that the tinder bundle will burn their hands. They place the unlit bundle inside their teepee or log cabin fire structure and then try to light it. Unfortunately, you will not get the right angle or leverage this way, and you may also knock over your fire structure. Trust me, if you hold the tinder bundle in the right places you will not burn your hands. Flames travel upwards, so hold it towards the bottom but stay close to your fire structure to set it down quickly.
-
- Pick the right tinder for your bundle. This is one of the biggest issues people have with a ferro rod. For tinder to take a spark, it must be incredibly fine and incredibly dry. Often tinder that would work great with a lighter will not work with a ferro rod. Fine wood shavings and bird’s nests work well.
- If it has been raining or snowing, you will need to get creative. You want to find tinder that will likely still be dry even in the rain. Fluff from inside a cattail is often a good option. Bird’s nests typically will shed most of the rain leaving the inside dry. Bird feathers are another good option if you shred them. You can also shave the wet bark off of a stick and create shavings with the dry inner wood. A small pencil sharpener actually works well for this.
- Use accelerants if you have access to them. Any flammable liquid can help you get your fire started. This could be gasoline, lighter fluid, alcohol, kerosene, paint thinner, or various types of oil. Just don’t over-do it. If you soak your tinder it may not light. A little goes a long way.
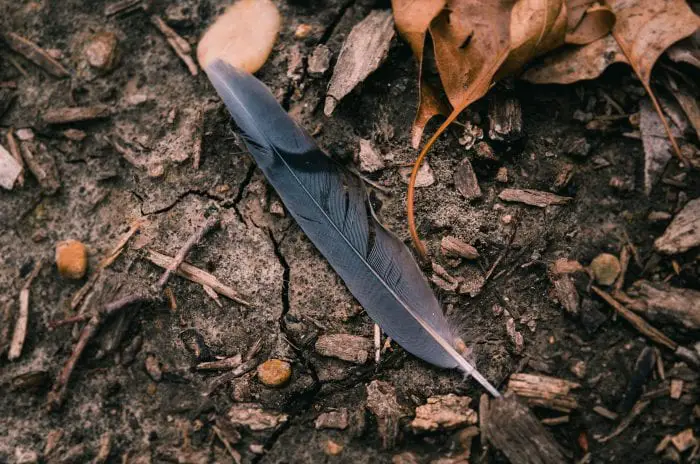
- Use natural accelerants as well. Birch bark is one of your best options. The birch tree produces a chemical in the bark that is highly flammable even when wet. Pine resin is another good option. Often you can cut the trunk of a pine tree with your knife and then collect the resin later. Rub it on your tinder and you will have better luck getting a flame.
- When possible, take tinder with you. If you want to go DIY, rub cotton balls in petroleum jelly.
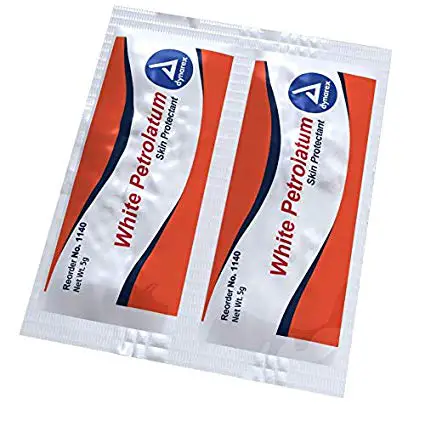 These will take a spark even in the rain and stay lit for a minute or two. You can also stuff some dryer lint in a toilet paper roll or make some char cloth. Char cloth is just cotton cloth with the impurities burned out of it in a fire. Poke a few holes in a mint tin and put small pieces of cloth inside. Throw it in a fire for about 20 minutes. You can also buy some very good artificial tinder. Wetfire cubes are a combination of wax and accelerant. Just shave off a small pile of shavings, light with a ferro rod, and then drop the rest of the cube on top. It will stay lit for several minutes even in the wind and the rain. Firestix will not take a spark, but once you get a flame they will stay lit for 15-20 minutes in the wind and the rain. This is enough time to get a fire started even with wood that is completely soaked. Finally, many ferro rods come with a block of pure magnesium. You can shave off small shavings of magnesium and gather it into a pile. This will typically take a spark a give you a flame to light other tinder.
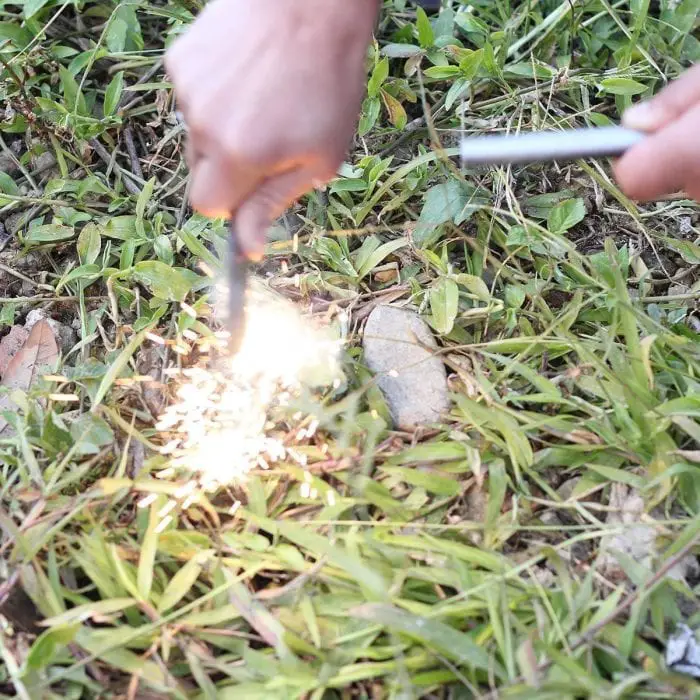
Just having a ferro rod is not enough. You absolutely need to take the time to practice using it. I don’t just mean striking it to see if you can get sparks. Get out into the wilderness. I don’t care if you are hiking, camping, hunting, or fishing. Take your ferro rod with you. Practice gathering different types of tinder for a bundle and using the ferro rod to get flames.
You don’t need to build a full fire, but you need to know what tinder works and what does not. As you get more comfortable, start going out in rainy or windy weather. Even after years and years and probably hundreds of fires, I still force myself to use my ferro rod at least a few times a year. You never know when it might save your life.
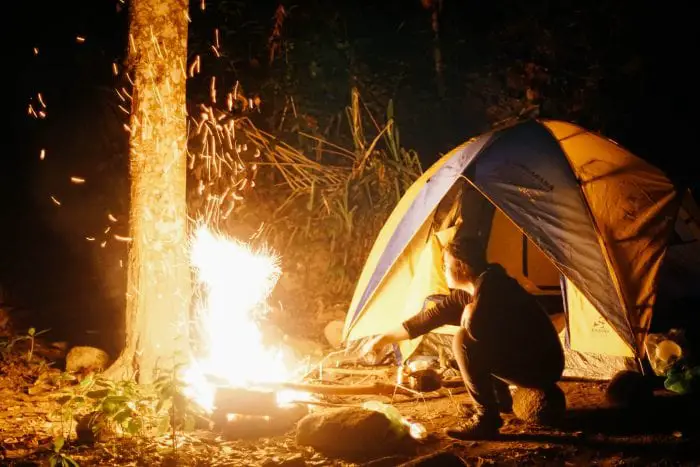
The key to fire starting with a new ferro rod or any other technique, is lots of practice. You can practice fire building, in your own back yard, with a small investment in a simple fire pit.

Ferro rods (ferrocerium rods) have little magnesium, are primarily made of ferrum (iron) and cerium
https://en.wikipedia.org/wiki/Ferrocerium
Also de sparks temperature is actually 3000 Celsius (not Fahrenheit)
In the Boy Scouts in the ’50’s, they sold flint and steel sets, which did not work worth a d***. We discovered, however, that a rat tail file, substituted for the steel, worked great!
Just ordered a Schrade fixed blade and the kydex sheets comes with a Ferro-rod. I’m gonna try and learn to use. I normally just make sure I have 3-4 Bic Lofhters in my bag but this is a nice freebie.