We all have that jar full of used cooking oil.
Wouldn’t it be great to use it to make an oil lamp with used cooking oil?
Read on to learn how to make this self reliant source of light.
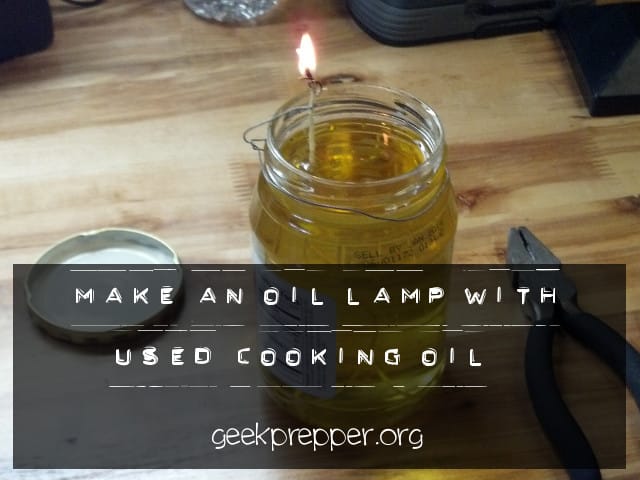
Make An Oil Lamp with Used Cooking Oil
I had grabbed that jar of previously used cooking oil and was getting ready to safely dispose of it.
Only then did I realize that to dispose of this jar of oil was essentially throwing away a ready-to-use oil lamp.
I took it to the garage, found some old string and sunk it into the oil-filled jar. Then I dug out some old unshielded wire and created a wick holder for the string.
How To Create An Oil Lamp:
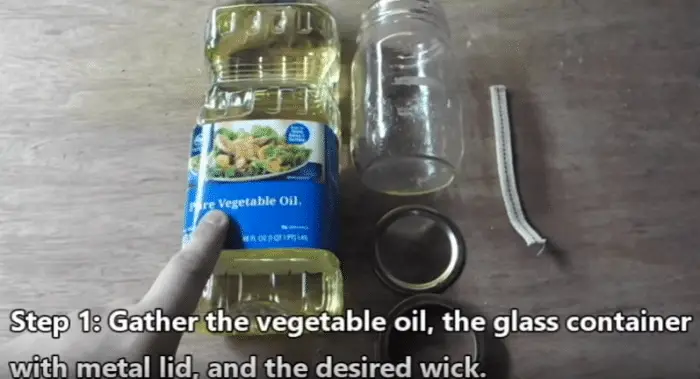
Step 1: Gather the Vegetable Oil, Glass Container with Metal Lid and Desired Wick.
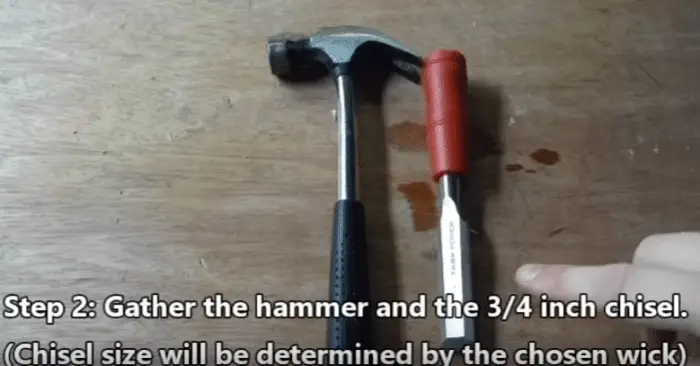
Step 2: Gather the Hammer and the 3/4 inch chisel.
Step 3: Use the Hammer and Chisel to put a hole in the middle of the tin cover.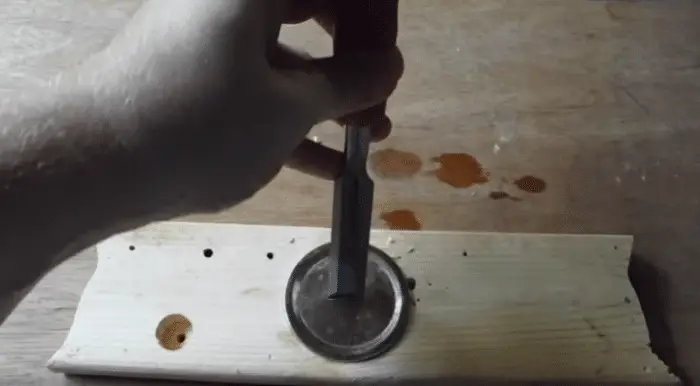
Step 4: Hole should be wide enough for the wick to go through.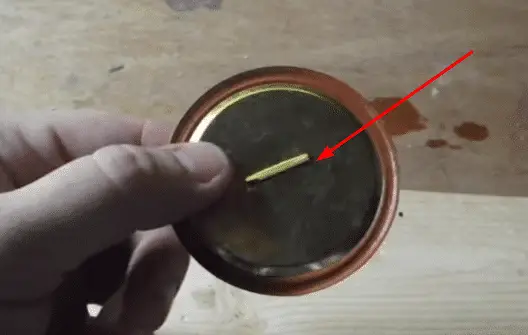
Step 4: Insert the wick into the slot
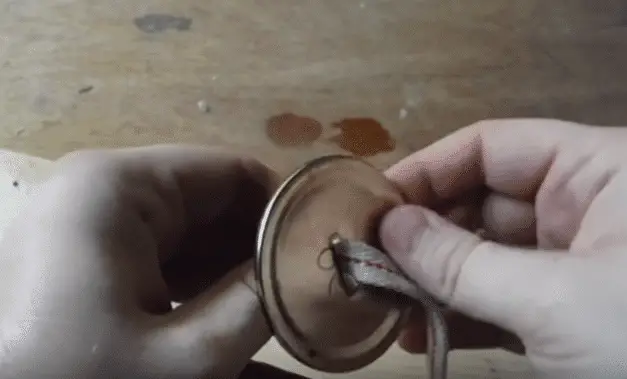
Step 5: Fill the jar with vegetable oil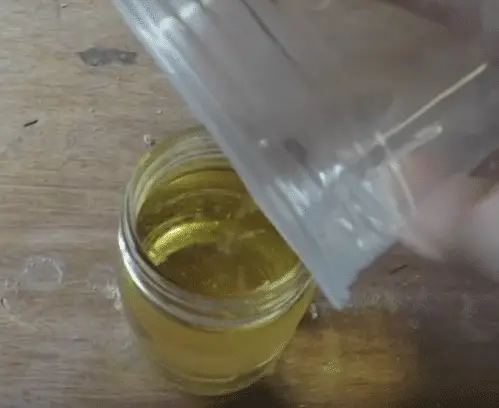
Step 6: Screw on the lid on the container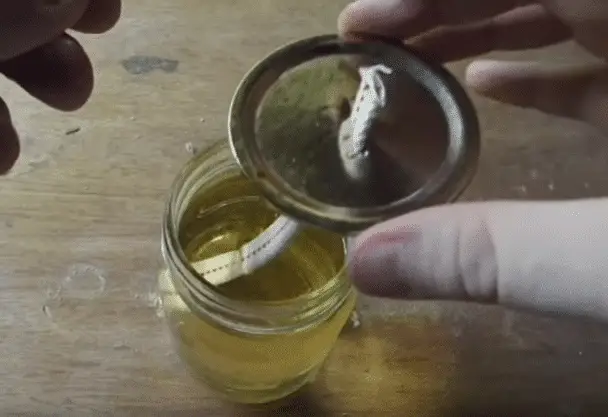 Step 7: Make sure there is about an inch showing on the wick then it is ready for lighting up.
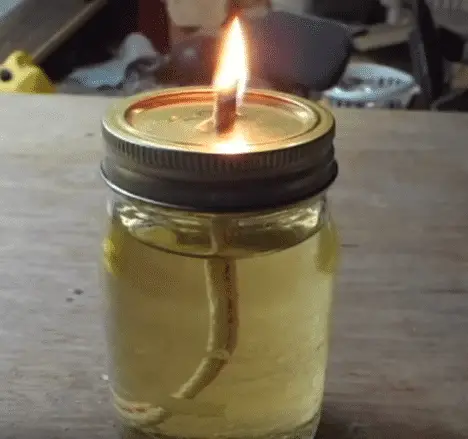
It seems that this lamp works fantastically and smells like french fries! It burned and burned and burned, then I got bored and put it out.
I guess I learned a lesson today, instead of disposing of jars full of oil, I’ll store them away for use as oil lamps. I learned to Make An Oil Lamp with Used Cooking Oil and recycled in the process. I am so green.
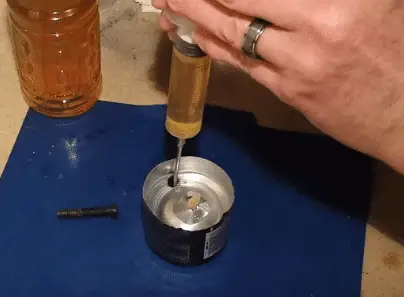
There is also another way to make an oil lamp using oil and metal can, here is the step by step guide:
Step 1: Cut off the end of the can
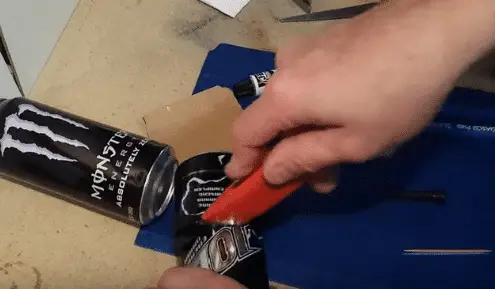
Step 2: Make a hole for the wick
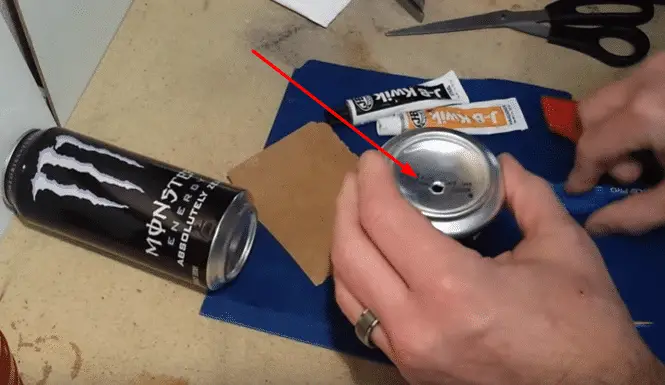
Step 3: Make a fill hole for the oil that you will transfer later on
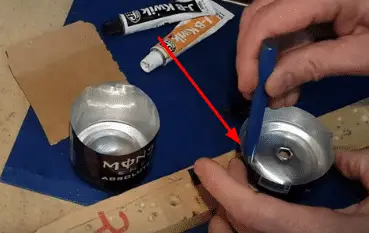
Step 4: Prepare and Put the Adhesive on the mouth of the can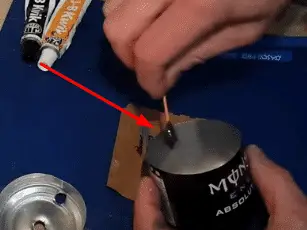
Step 5: Push Top Can at the bottom with the adhesive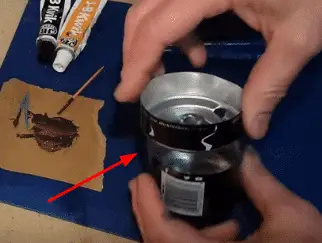
Step 6: Secure edges make sure the adhesive is properly sticking to the side
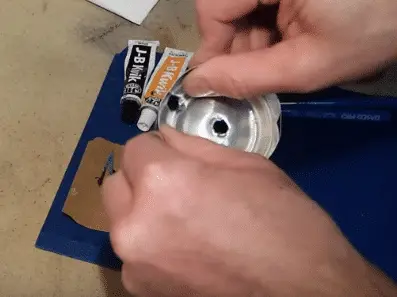
Step 7: Push the wick at the bottom until only a small part is showing at the top
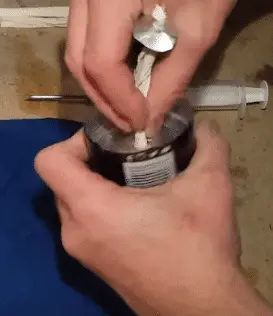
Step 8: Pour some oil into the wick and also on the fill hole
Oil Lamp vs. Mineral Oil Lamp and Candles
An Oil Lamp is one of the most essential survival items that a prepper or survivalist should own. Note that each time the power gets interrupted because of a storm, emergency, disaster, or just an issue with the power company, you will instantly have peace of mind knowing that you have several sources of light.
You will find mineral oil lamps, candles, and flashlights useful during those situations but creating your own DIY Oil Lamp provides more benefits. One advantage of an oil lamp is that it can burn for around 60 to 120 hours, giving you and your loved ones sufficient source of light to read, play games, or do other things that will take off your mind from the emergency or disaster you are facing.
An oil lamp is also inexpensive to run. Furthermore, it can produce less toxic fumes compared to mineral oil lamps and paraffin candles. If you use vegetable oil then you also have an assurance that this is not that harmful to the environment.
This makes it different from petroleum-based products, like paraffin candles, that might be damaging to the environment. If you are a prepper or survivalist then you will also feel glad to know that you can easily store the lamp in bulk. It also has a wider base, making it more stable compared to candles. Furthermore, it is odor-free, especially if you use olive oil.
An oil lamp is also easy and cheap to make. It even provides you with several opportunities for a creative outlet. If you are interested in making one then take note of the following cooking oils that you can use as fuels for your oil lamp:
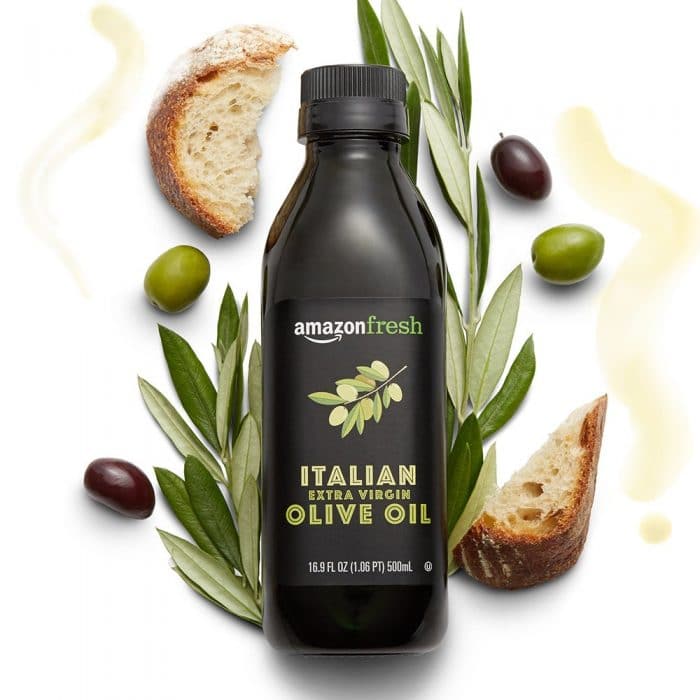
Olive oil – It is the perfect choice when planning to create a DIY vegetable oil lamp. What is good about an olive oil lamp is that it does not seem to produce smoke when you burn it.
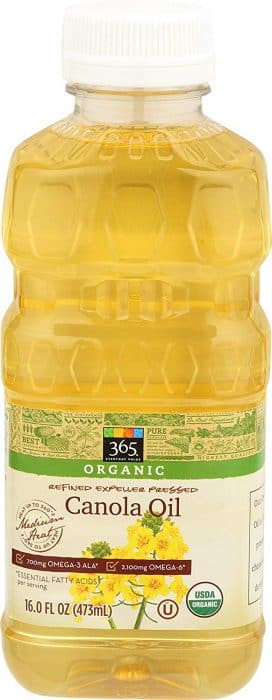
Sunflower or canola oil – One advantage of this type of oil is that it is inexpensive. One issue, though, is that it tends to produce some smoke.
Seed and nut oils – Some examples are oils from flax, sesame, almond, and walnut. They work well for oil lamps because of their zero smoke production. However, they are quite expensive, so it is still better to use the used olive oil.
After frying foods using any of the vegetable oils mentioned, make sure to save the used ones as you can utilize such in your DIY vegetable lamp project. Filter the vegetable oil using a cloth first to prevent food residues from producing smoke and a foul smell.
What Oil Container Should You Use?
Almost all containers that are non-flammable are perfect for your vegetable oil lamp project. If you want to save on vegetable oil, use wide containers, instead of tall ones. Also, for safety reasons, it would be perfect to use a container that is capable of trapping flame. It should be transparent so you can clearly view the flame within. Among your best choices are glass jars, kerosene lanterns, and metal, ceramic, or clay dishes.
Wick Material
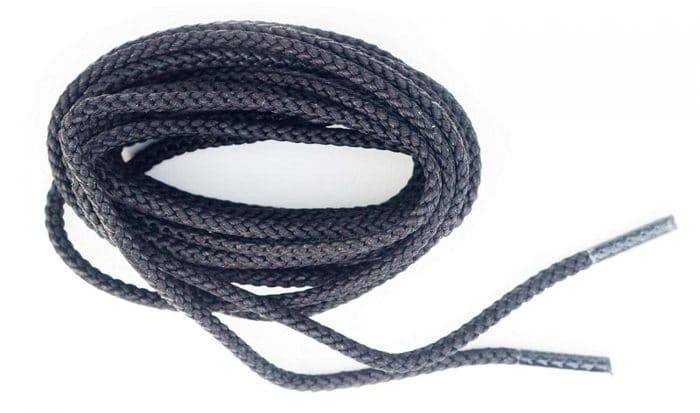
As for the wick, take note that any item constructed from cotton material works perfectly. It should be braided, too, to prevent it from burning too quickly. Braided wicks are capable of producing a higher amount of light. You may also use a string, strips from old clothes, and shoelaces. It is also advisable to soak the wick first in saltwater and allow it to dry prior to each use. This guarantees the even burning of the wick.
Make sure that you also use the perfect wick holder. In this case, it would be a big help to make the topmost part of the wick material, specifically the part which tends to burn, sit a bit over the vegetable oil. This will prevent the oil from putting off the flame.
How to Use the Vegetable Oil Lamp?
Once you have created your own vegetable oil lamp, you can expect it to work once the oil gets drawn onto the wick. It causes the flame to ignite, making the oil vaporize. Also, just a bit of oil is enough to burn it for several hours. If it is your first time using the lamp, let the wick fully absorb the oil prior to lighting it. Also, make sure that the wick is around 6 mm long. The oil should also reach beneath the coil.
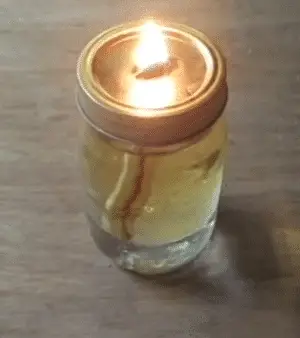
In case the wick holder is inside a jar, make sure to raise it as a means of lighting the lamp. If the flame shortens, it indicates a shortened wick. In such a case, you can use a pair of tweezers or a pin for pulling it up a bit. Make sure to get rid of the charred wick, too. One thing to remember about the wick is that you should not let it burn too fast as it might cause the level of oil to get too low.
Also, avoid extending the wick too far since an oversize flame increases fire hazard, which is an unnecessary and avoidable risk. You may also want to tilt the lamp and tip over the holder. This will cause the flame to be submerged in the oil, thereby extinguishing the flame without causing smoke.
Conclusion
A sudden power interruption due to a disaster, emergency, or other problem can be annoying. However, with a good source of light from your own vegetable oil lamp, you can make the situation more manageable. Fortunately, making a DIY oil lamp is not that hard. The things you need are inexpensive, too, so there is no reason why you should not make one on your own now.



If the oil is still pretty clear, it can be recycled this way. However, if it has been “recycled” through the fryer multiple times, you may want to filter it through multiple layers of cheesecloth to get rid of any stray bits left behind, and flour from breaded items.
Can this work with ANY kind of cooking oil? Vegetable oil? Olive oil? Soybean oil?
What kind of string did you use? This is wonderful–I knew there had to be another use for that oil!
I just had a piece of old string, but I have used shoelaces,string,twine and torn cotton shirts. Some work better than others, your mileage may vary.
We’ve used old shoe strings that were cotton.. was one more thing to recycle
I recently saw a Youtube video that showed how to do this. Definitely a cool idea for those nights where the electricity goes out. Interesting that it smells like french fries 😉 though of course, makes perfect sense, haha.
Why can’t you just poke a hole in the jar lid and run the string through that? Will it burn the lid? Seems like it must be easier but I must be missing something.
Thanks,
Linda
This is a great idea, and I have contemplated it, but haven’t had the chance to test it yet. If you do get to try it, before I do, please let us know your results.
I have been experimenting with proper wicks and holes and air holes and havent found any great huge flames like in the pics.it flares up at first then does down to what you have in the video. I have several jars but not actual mason jars. Any idea if the flame is supoosed to be bigger and brighter by using a chimney?
Linda–yes, and I did that practicing.
I’ve done this with olive oil. I have found most vegetable/nut oils work. Corn oil doesn’t work well, it clogs whatever you are using as a wick. I use 100% cotton mop heads. I cut a small piece and use that. And the draw rate of the oil is slow so you want the top of the wick to be no more then a 1/2″ above the top of the oil. A interesting way to get more light out of a lamp like this is to use a clear glass jar and fill it mostly with water then pour a small amount of oil on top. the wick will soak up the oil first and when it uses up all the oil it will soak up the water and put itself out. I rarely get to this state as I put too much oil in and I refuse to leave a lamp lit when I go to sleep. The neat thing is the water helps to magnify the light.
Put a mirror behind the lamp for more light reflection. Old blue jeans are cotton – use them to cut wicks for lamps like this. The wider the wick, the more light but the more oil you will use. Keep the wick low enough in the oil for it to wick correctly so you aren’t burning the wick, you are burning the oil. Be sure to keep your wick trimmed, too.
Can tou make a pocket size one that doesn’t leak.
I’ll bet you could. Oil is slippery, but if you put a rubber seal in the jar lid, it just might work.
You guys really rock